3D Hollowing is a simulation. It will give you a preview of what adding additional geometry to your 3D model could look like. This is done by creating a new, low polygon surface as an internal cavity inside your 3D model.
3D hollow has two customizable operations
Thickness
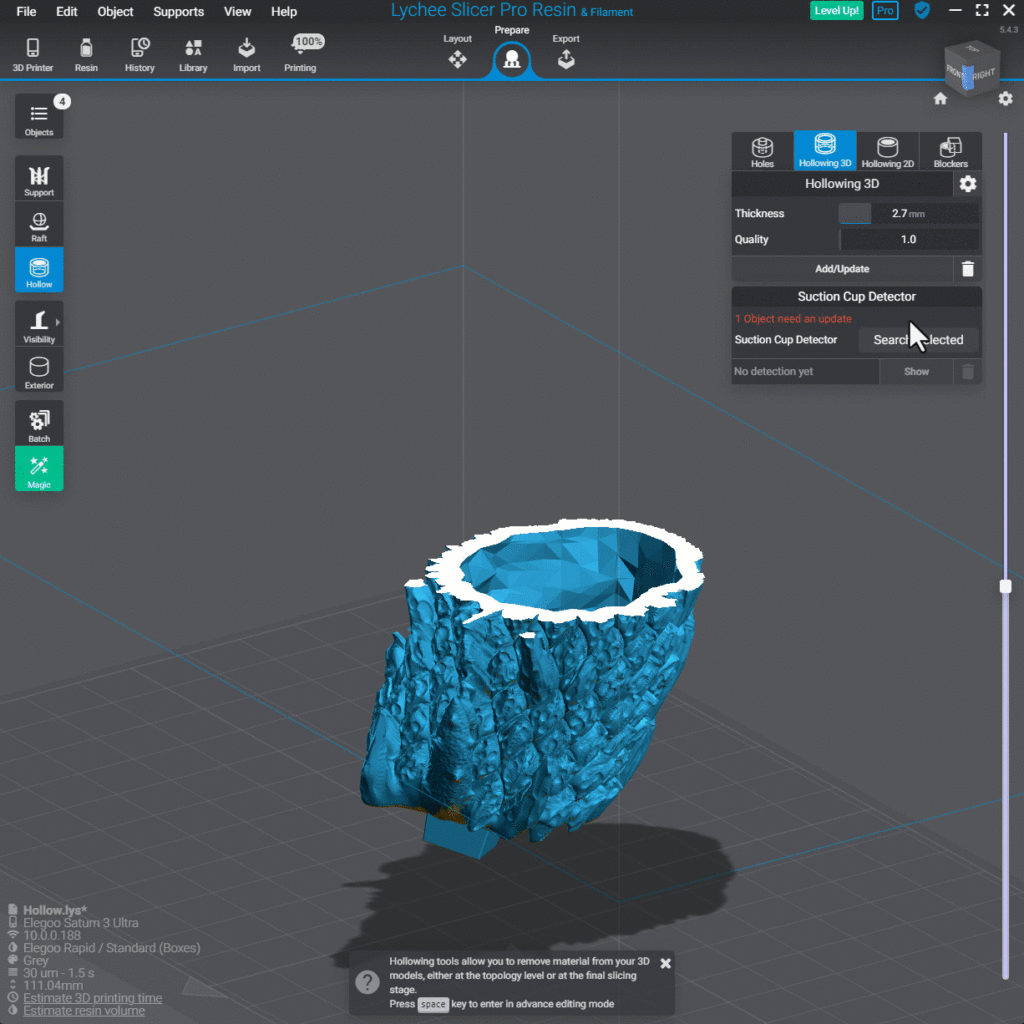
Thickness will allow you to set the wall thickness. This is the wall between the outer shell and the newly created cavity in your object.
- Smaller objects will be limited on how thick the wall can be.
- Can be set between 0.5mm and 10.0mm at 0.1mm increments.

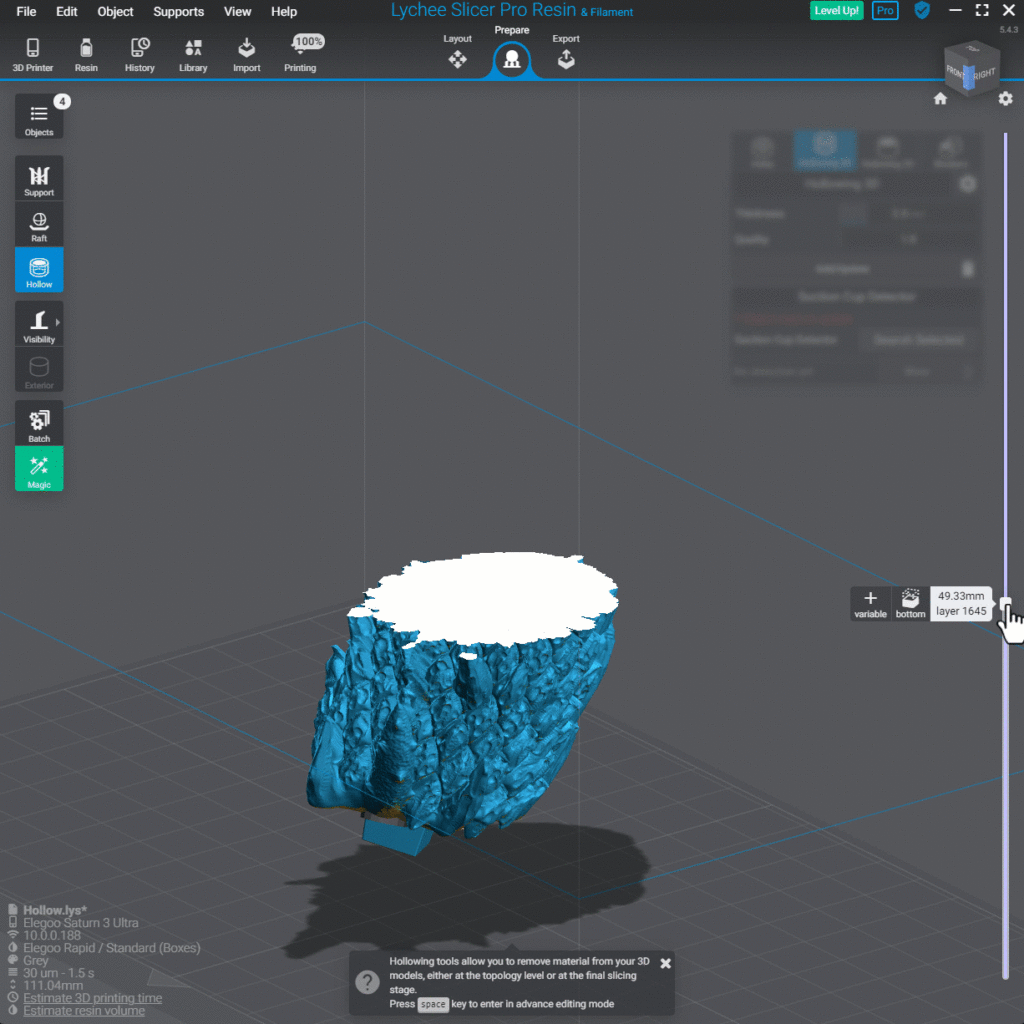
How to 3D hollow an object
- Select the object you wish to hollow from the Lychee Scene.
- Under Prepare > Hollow > Hollowing 3D.
- Using the slicer or typing in, choose the desired Thickness and Quality.
- If you have a preset, click the Gear icon to Save or Load your Hollowing 3D preset.
- Click on Add/Update, all selected objects will be be given the chosen properties.
- Use the Layer Preview Slider to review the 3D hollowing effect.
- Don’t forget to add drain holes and check for suction cups, continue article for instructions.
- Slicing or Exporting the file will finalize the 3D hollowing effects.
Last updated on
Tags: Resin